How to Create an Instagram Seamless Carousel: Slicing a Single Panorama into Swipable Posts
Table of Contents
1. The Problem with Instagram Carousel Seams
A seamless Instagram carousel allows users to swipe horizontally across multiple slides without jarring breaks, white seams, or misaligned horizons. However, preparing such carousels manually in generic image editors is tedious: calculating fractional pixel cutlines, maintaining the exact 4:5 vertical aspect ratio (1080×1350 px per slide), and exporting slices in the correct order often leads to visible seam artifacts or accidental post inversions.
Using GoToolstack's dedicated Grid & Carousel Splitter (gridsplitter), you can divide a single wide panoramic composition into perfectly aligned 4:5 or 1:1 slices with 100% in-browser processing and instant ZIP packaging.
2. Sample Panoramic Asset & Target Dimensions
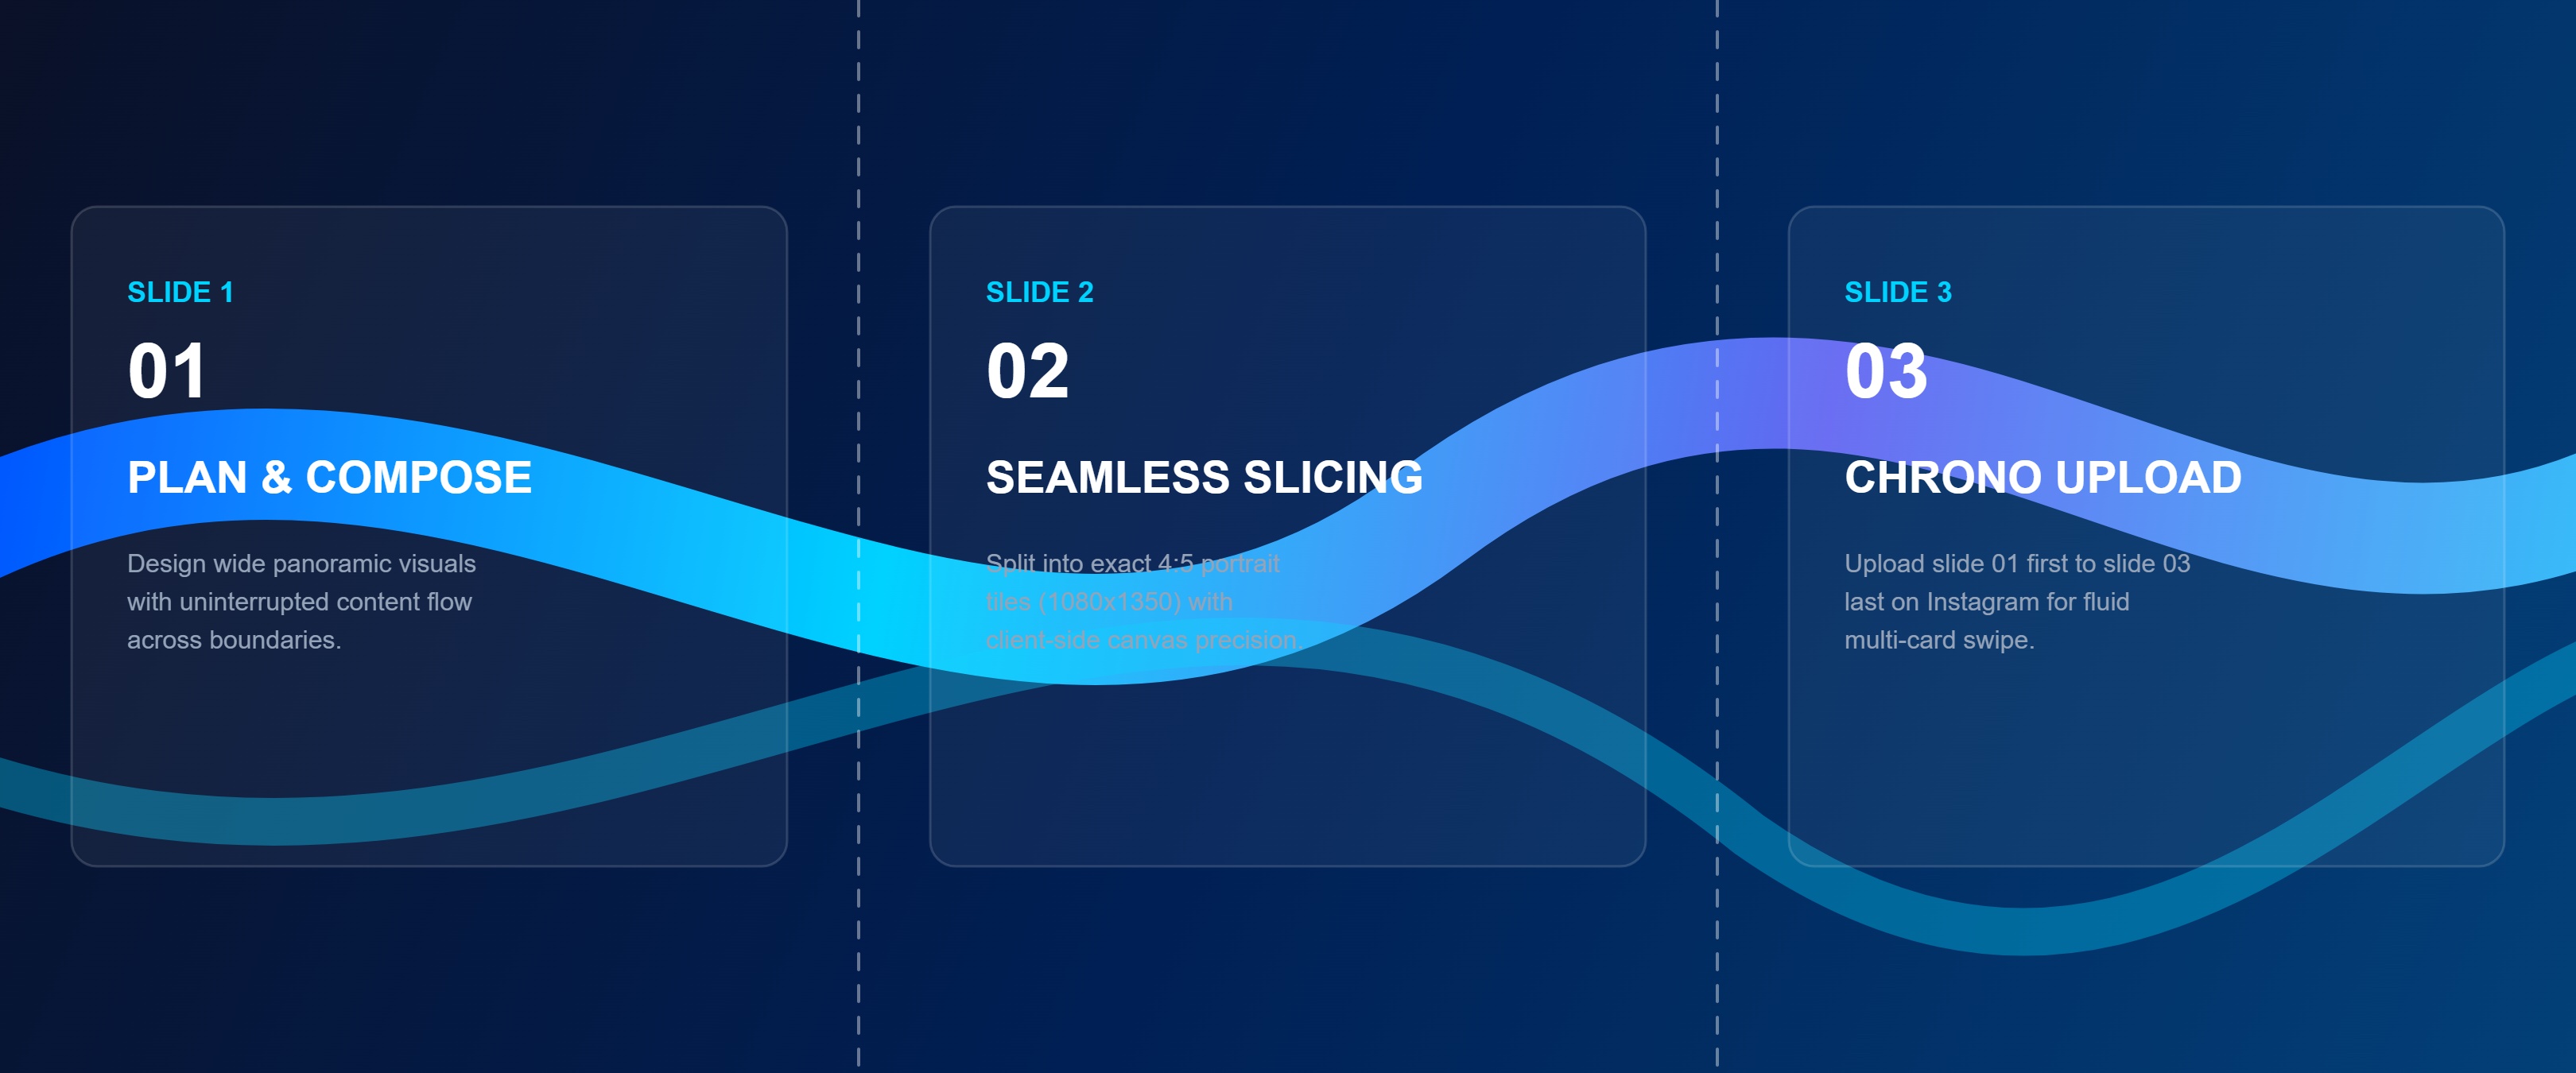
To demonstrate a verifiable workflow, we generated a clean 3-slide panoramic composition at 3240×1350 pixels (overall aspect ratio of 12:5). When divided horizontally into 3 equal parts, each slide measures exactly 1080×1350 pixels (the official 4:5 portrait ratio recommended by Instagram for feed posts):
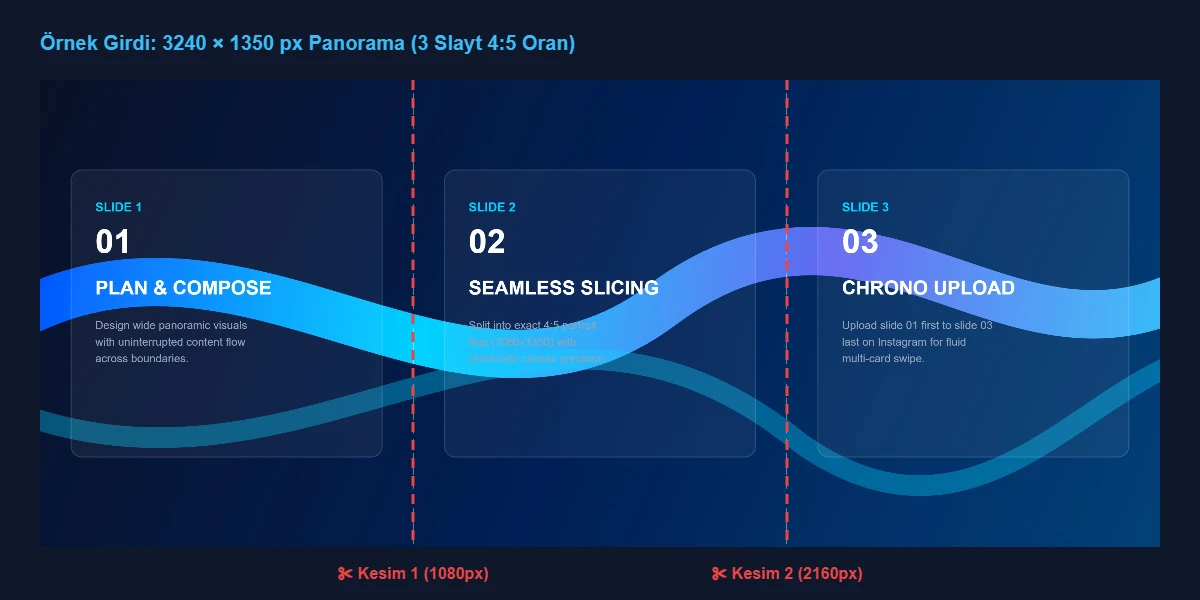
Download Sample File: You can download our exact verification panorama: sample_carousel_panorama.jpg (3240×1350 JPEG) to follow along step by step.
| Segment | Pixel Coordinate Range (X) | Slice Output Dimensions | Aspect Ratio | Output Filename |
|---|---|---|---|---|
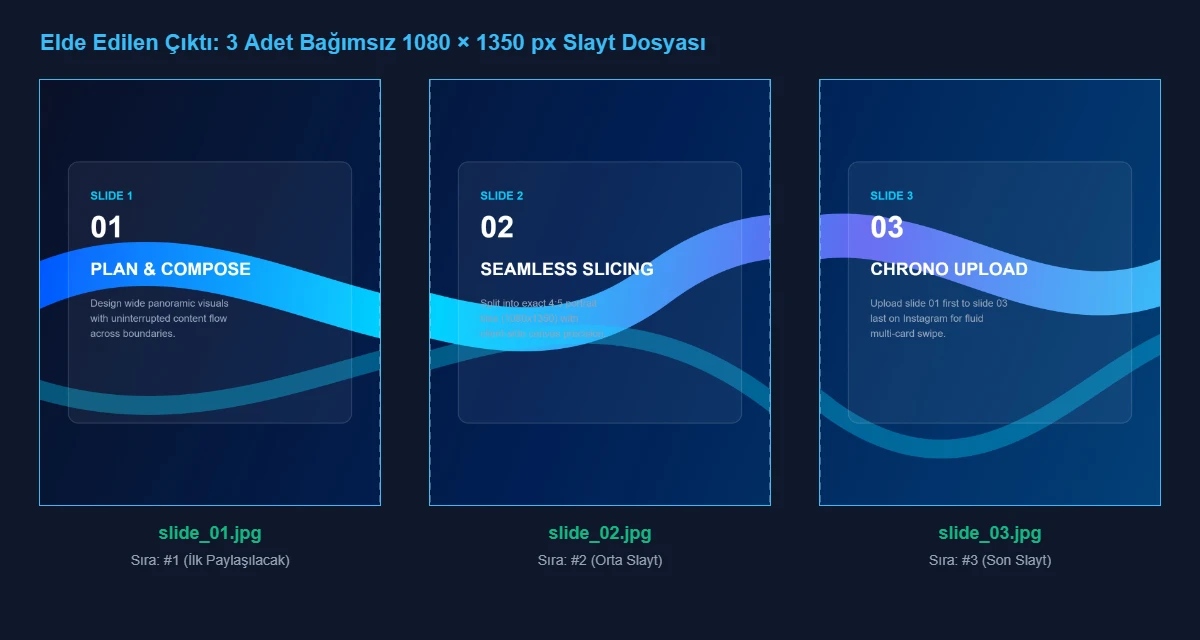
| Slide 1 (Left / Cover) | 0 to 1080 px | 1080 × 1350 px | 4:5 Portrait | slide_01.jpg |
| Slide 2 (Center / Detail) | 1080 to 2160 px | 1080 × 1350 px | 4:5 Portrait | slide_02.jpg |
| Slide 3 (Right / Outro) | 2160 to 3240 px | 1080 × 1350 px | 4:5 Portrait | slide_03.jpg |
3. Step-by-Step Slicing Procedure with gridsplitter
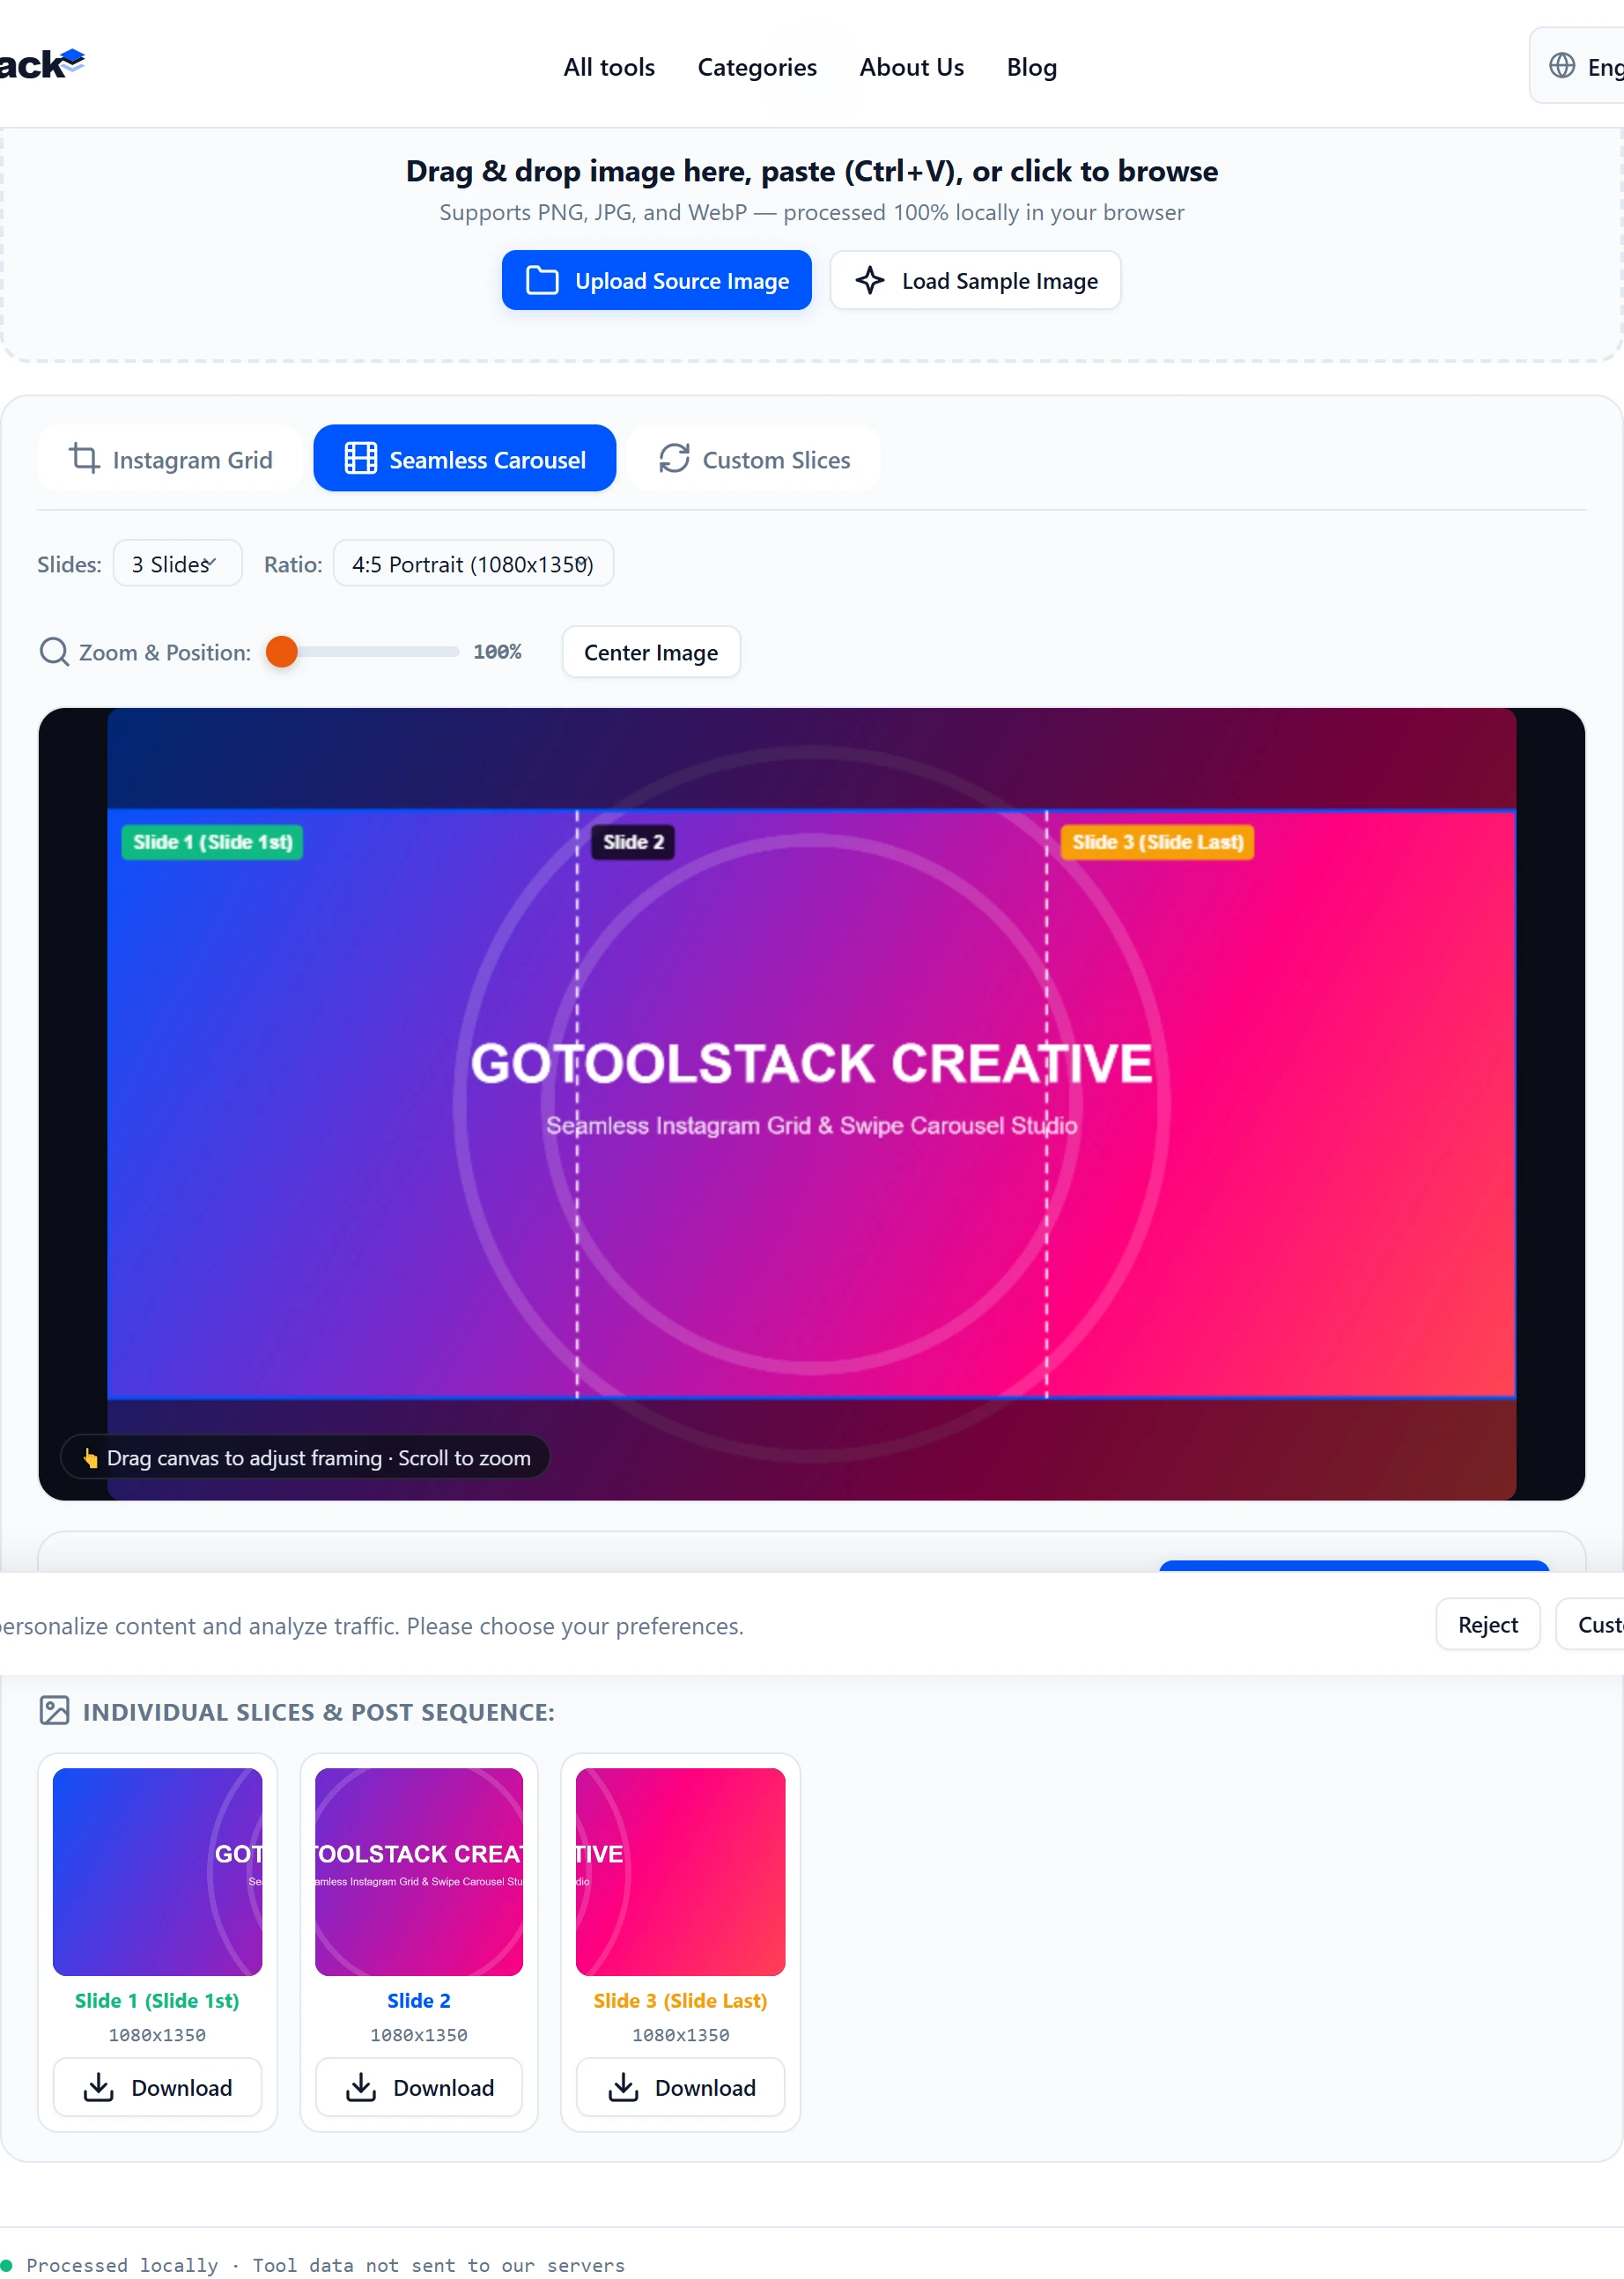
- Upload the Panoramic Image: Open gridsplitter and drag your wide image onto the upload zone or click Choose Image. The tool loads the image directly into HTML5 canvas memory without sending a single byte to an external server.
- Select Seamless Carousel Mode: In the mode tabs bar, click the Seamless Carousel tab (
#grid_tab_carousel). - Set Slide Count to 3: In the Slides dropdown, select 3 Slides. The canvas overlay automatically draws two vertical guide lines marking the boundary between slide 1, slide 2, and slide 3.
- Select 4:5 Portrait Ratio: In the Ratio dropdown, choose 4:5 Portrait (1080x1350). This aligns with Instagram's maximum vertical real estate in mobile feeds.
- Adjust Framing & Zoom (Optional): If your source image does not match 12:5 exactly, you can drag the preview canvas to pan the frame or use the zoom slider to eliminate letterboxing.
- Download ZIP Package: Click Download All Slices (.ZIP). The in-memory archiver packages
slide_01.jpg,slide_02.jpg, andslide_03.jpgalongside a clearREADME.txtfile.
4. Chronological Reading Order vs. 3x3 Profile Grid Order
A frequent point of confusion among creators is the distinction between carousel slide order and profile grid post order:
- Carousel Swiping Order (Chronological): When creating a carousel post in Instagram, you tap "Select Multiple" and pick slides in normal forward reading order:
slide_01.jpg(first / cover), thenslide_02.jpg, thenslide_03.jpg. GoToolstack names carousel files chronologically for this reason. - Profile 3x3 Grid Order (Reverse): By contrast, when posting a 9-slice grid to your main Instagram profile feed, posts must be uploaded in reverse chronological order (bottom-right tile first, top-left tile last), because each new post pushes previous posts down and to the right.
5. Common Practical Pitfalls & Workarounds
Pitfall 1: Text Cut Exactly on the Seam
Issue: A word or face positioned directly at X = 1080 px or X = 2160 px gets split across two slides. While the seam is technically pixel-perfect, mobile rendering rounding errors may cause small 1-pixel visible seams during active swiping.
Solution: In your design phase, keep critical text and focal elements at least 40 pixels away from the 1080 px and 2160 px division marks.
Pitfall 2: Low-Resolution Source Images
Issue: Slicing an image with less than 1350 pixels in height requires upscaling each slide to meet 1080×1350 px, which introduces blurriness.
Solution: Always design your panorama with a minimum height of 1350 px (for 3 slides, recommended size is 3240×1350 px). If your photo has a different size, use our Image Resizer before slicing.
Pitfall 3: Instagram Feed Display Variations
Issue: Instagram displays posts slightly differently across iOS and Android devices, particularly near rounded screen corners or when comments are expanded.
Solution: Avoid placing vital disclosures or call-to-actions in the outer 15% top or bottom margins of your 4:5 slides.
Related Tools & Resources
- Grid & Carousel Splitter: Divide photos into seamless carousels or 3×3 profile grids.
- Image Resizer: Scale your panoramic source to exact 3240×1350 px dimensions.
- Image Compressor: Optimize JPEG slice sizes below 1 MB for faster mobile upload.
- Instagram Creator Hub: All specialized tools for Instagram content creators.